
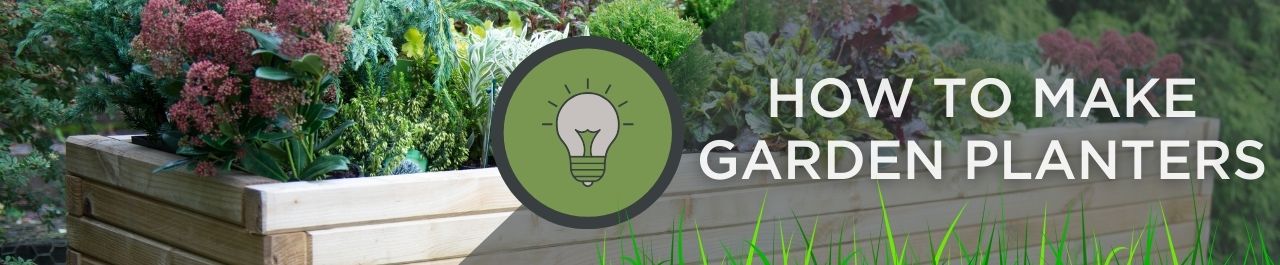
How To Make Garden Planters
At DekoGardenSupplies, we offer a wide range of garden planters. Our corten steel planters arrive fully assembled and our wooden planters are provided with a full set of instructions which are also available on our website. However, you can also build your very own planter from scratch with pieces of timber or sleepers.
Building planters for gardens is a fun and easy project that can spruce up your garden and allow you to grow your own vegetables, herbs, or flowers in whatever design you want. In this guide, we'll walk through the basic steps for constructing a simple wooden planter box; however, the principles shared will allow you to build an outdoor planter of any shape provided you have enough materials. This project can easily be completed in a weekend with some basic DIY skills and common materials that can be found at any hardware store.
Materials Needed For A Garden Planter
- Wooden boards or sleepers to build the sides of your planter (at least 50mm thick)
- Membrane (to line the inside of the planter and prevent soil leakage)
- Staples or nails
- Saw (miter saw, circular saw, hand saw, etc. to cut your timber)
- Drill with various drill bits
- Wood screws
- Sandpaper
- Exterior wood glue (optional for increased stability)
- Paint/stain and brushes (optional for finishing the exterior)
Step 1: Cut the Wooden Boards
Determine the dimensions based on how big you want your garden planter to be. Common planter sizes are 3 ft x 2 ft or 4 ft x 2 ft but you can make it any size. Cut your boards to the length needed for the sides of your planter. Cut two boards for the shorter sides, and two boards for the longer sides if making a rectangular planter.
Step 2: Build the Box Frame
Lay the boards on a flat surface and attach them into a four-sided box shape using wood screws. Make sure boards are aligned at 90-degree angles. You can also apply some exterior wood glue before screwing boards together for added stability.
Step 3: Line the Box
Lay your membrane inside the planter outline you have created, overlapping the edges over the wooden boards. Use a staple gun or hammer with nails to attach the membrane to the inside rim of the boards. This will help contain the soil without it leaking through any cracks.
Step 4: Fill the Planter Box with Soil
Use a spade to transfer soil into the planter, filling it up to roughly 6 inches from the top. During this step, you can mix the soil with compost or other nutrients that will encourage plant growth, depending on what you intend to plant.
Step 5: Plant Flowers, Herbs or Vegetables
Decide what you want to grow, purchase plants or seeds, and plant them in your new planter box. It is best to consider grouping plants together based on sunlight and watering needs.
Step 6: Maintain and Enjoy
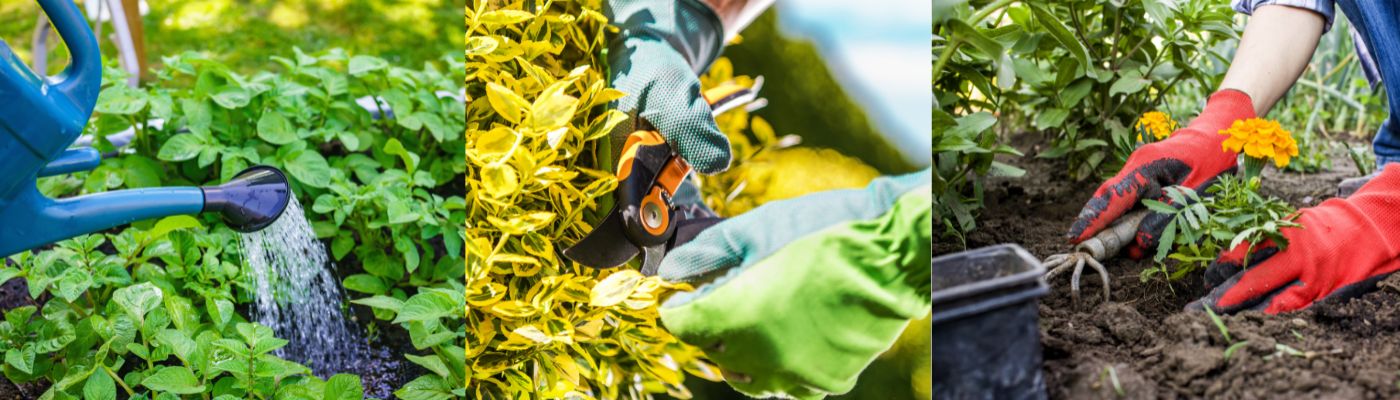
As far as maintenance goes, over time you will need to water and care for your plants, trimming back any overgrowth as needed. Your simple DIY planter box will now allow you to grow beautiful plants, fresh herbs or vegetables in your own garden!
That covers the basic process for constructing a simple garden planter box. If you have any questions that are not answered in this guide, please feel free to get in contact with us!

