
What Is A Soakaway? Everything You Need To Know
What is a Soakaway?
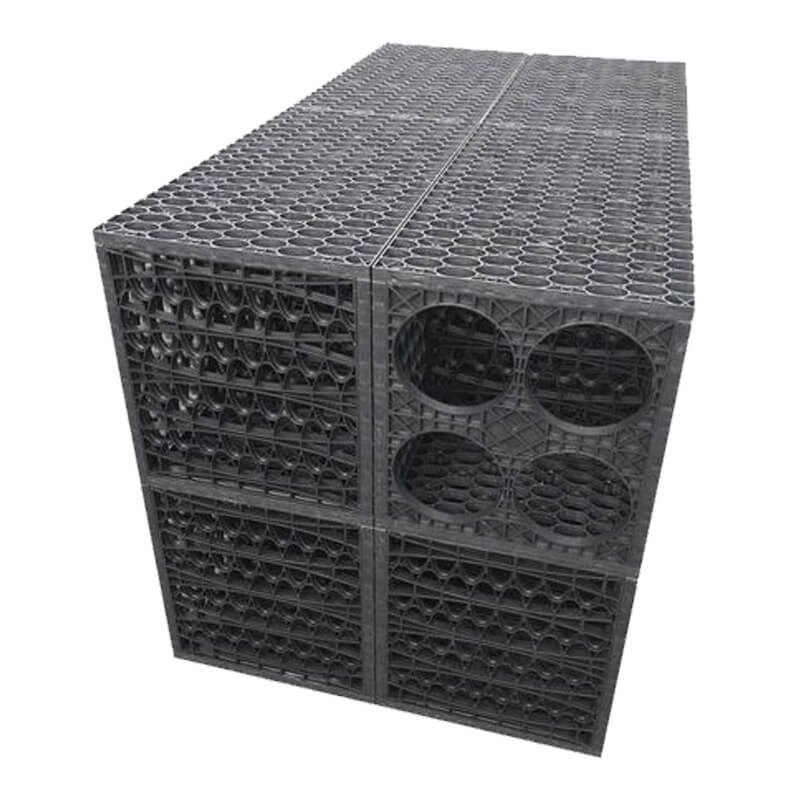
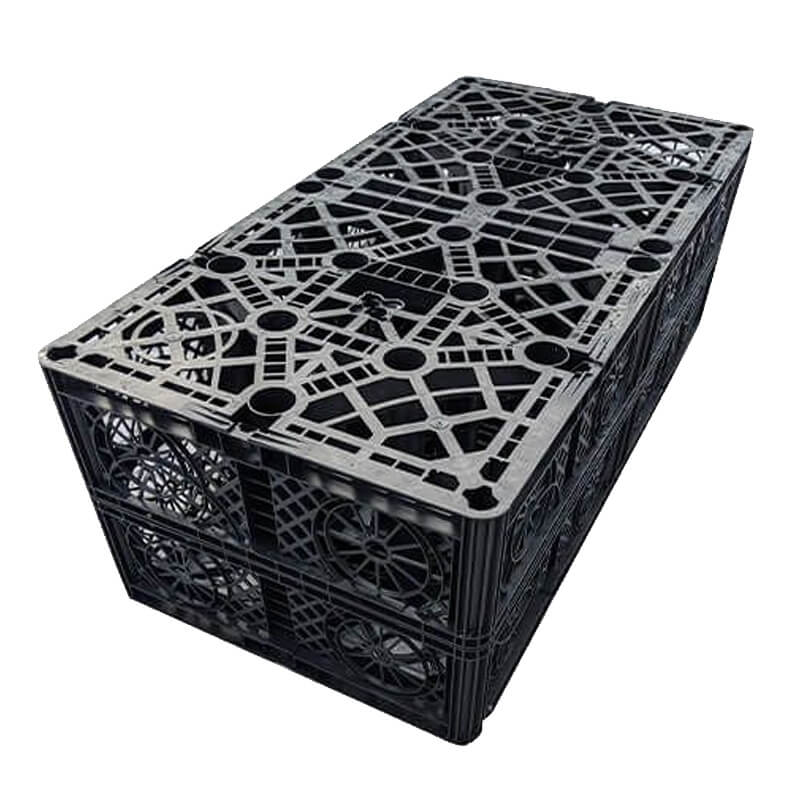
A soakaway is the name for a pit filled with rubble or hard core that helps water drain slowly into the soil around it. However, modern day technologies have allowed for the design of a specific type of soakaway system, a soakaway crate. The purpose of these innovative crates is to allow excess rainwater to be released back into the ground slowly through the process of infiltration, and their design adds functionality and eco friendliness to previous methods of rainwater management.
Modern Soakaways vs Traditional Methods
 Historically, if you or a builder were building a soakaway system, you would have just dug a deep hole and filled this with all the rubble and rubbish from the building site to create a jagged path to for the water to flow down in an attempt to manage the flow of water into the soil.
This worked temporarily, but oftentimes caused more problems than it solved. Environmentally there are issues – items such as paint cans might have been thrown in the pile, which raises the issue of soil and ground contamination. Over time, the soil would fill in the gaps between the rubbish and the makeshift soakaway wouldn’t work efficiently at all.
What are the Benefits of Soakaways?
Soakaways have risen in popularity over the last few years, and it’s no surprise considering the number of benefits they bring to the process of water management.
Our soakaway sets come in various layouts, so you can put them into different areas that might otherwise be a tricky fit – around corners, for example.
We also stock different sized soakaways, with options for heavier soils, or for shallow dig if you have a high water table. There’s lots of options for configuration!
Soakaway crates are also incredibly eco-friendly and require barely any work to maintain when installed correctly. Their easy transport and clip fit system are also highly noted.
 Void Ratios and Loads Explained
Whilst these might seem like technical terms to begin with, they’re actually quite simple. Whilst the figures don’t matter too much, it’s always worth understanding what they mean.
Void Ratio
Void ratio simply means the amount of free space you have for water in your crate vs the amount of plastic around the outside of the crate. For example, a cubic metre soakaway set has a 95% void ratio – of the whole structure, 5% is the plastic structure, and 95% is space to collect rainwater. For a cubic metre, this would give you 935 litres of rainwater collection space.
Load Rating
Load rating is the weight an object is able to carry. Our standard Ellipse product has a 24.2 tonne vertical load rating, but a lower 18 tonne lateral load rating. This is equally as important to know, as the movement of soil can often put pressure on the crates, which can influence the load on your soakaway at any given time.
Having said this, our soakaways with a lateral load rating of 18 tonnes are by far the market leaders in terms of lateral load, so that's a big factor to consider when deciding where to purchase your soakaway crates.
Installing Your Soakaway Crate
Building and Installation Process
Installing soakaways is a relatively easy process. There are a few main steps that will always apply with any type of soakaway installation, and you can take a look at these below. Please note that we have an extensive guide on how to install soakaway crates, and plenty of technical drawings to help assist with your installation in the guides and tips section of our website.
- Build your soakaway set – four crates make up a cubic metre, so you should decide how many crates you need. They are easy to assemble, and we include cable ties in our soakaway sets for you to hold the crates in place whilst assembling and completing the following steps. Crate assembly takes around 10 minutes per cubic metre, and the crates snap together – take a look at this video for full assembly instructions.
- Excavate and prepare your site – when digging your site, you’ll want to dig a slightly bigger hole than the size of the soakaway set. This will allow space for the recommended 150mm base layer of sand or gravel side fill. Try your best to ensure the sides and bottom of the excavation are straight and square – digging by hand is also a strenuous task, so you may want to hire a mini digger, especially if you’re installing multiple crates.
- Installing and wrapping your crates – all your soakaway crates should be wrapped in geotextile membrane around all outward faces, including the base. Any entry points where pipes feed in can have te excess membrane cut away.
- Backfill and surface replacement – fill in around the soakaway with 150mm-350mm back fill around the sides, and a 300mm-500mm top fill, and replace the surface that has been dug away.
Connectors and Other Components
Pipe entry – with the Ellipse crate, there are 4 pipe entry points. If you’re using 160mm pipe, the pipe diameter fits into the space and clips on, whereas 110mm pipe can just be rested on the bottom of the entry point.
Prefilters – we would always recommend installing a prefilter such as a silt trap before your soakaway crate. This will ensure any silt that washes down into the system from your channel drain, land drain, roofing or alike will be stopped by the prefilter and won’t be run into the soakaway. This will help extend the life of the soakaway and uphold the efficiency and life expectancy.
What Soakaway Options Are Available to Me?
Domestic
Our 24 tonne Ellipse soakaway crate is the most popular option for domestic installations. This can be used anywhere in your garden or underneath your driveway, as long as it is not situated within 5 metres of your house.
Commercial
Our 65 tonne option is the best choice for commercial properties and installations – underneath car parks, in property development and new builds, for example.
Flat Packed or Pre-Assembled
Our soakaway crates are available in a flat packed or pre-assembled format. The pre-assembled choice is great if you’re a complete beginner or don’t have many crates to be delivered, but for a large site you’re better off choosing the flat packed supply. It’s slightly cheaper, and the crates are easy to assemble – each crate takes just over two minutes to fit, meaning for a full cubic metre, you’re only looking at 10 minutes to build! Our kits include cable ties and a mallet, making this process even simpler.
If you need any specific calculations or advice, our team are always on hand to help with your projects. Get in touch with us today for advice!

